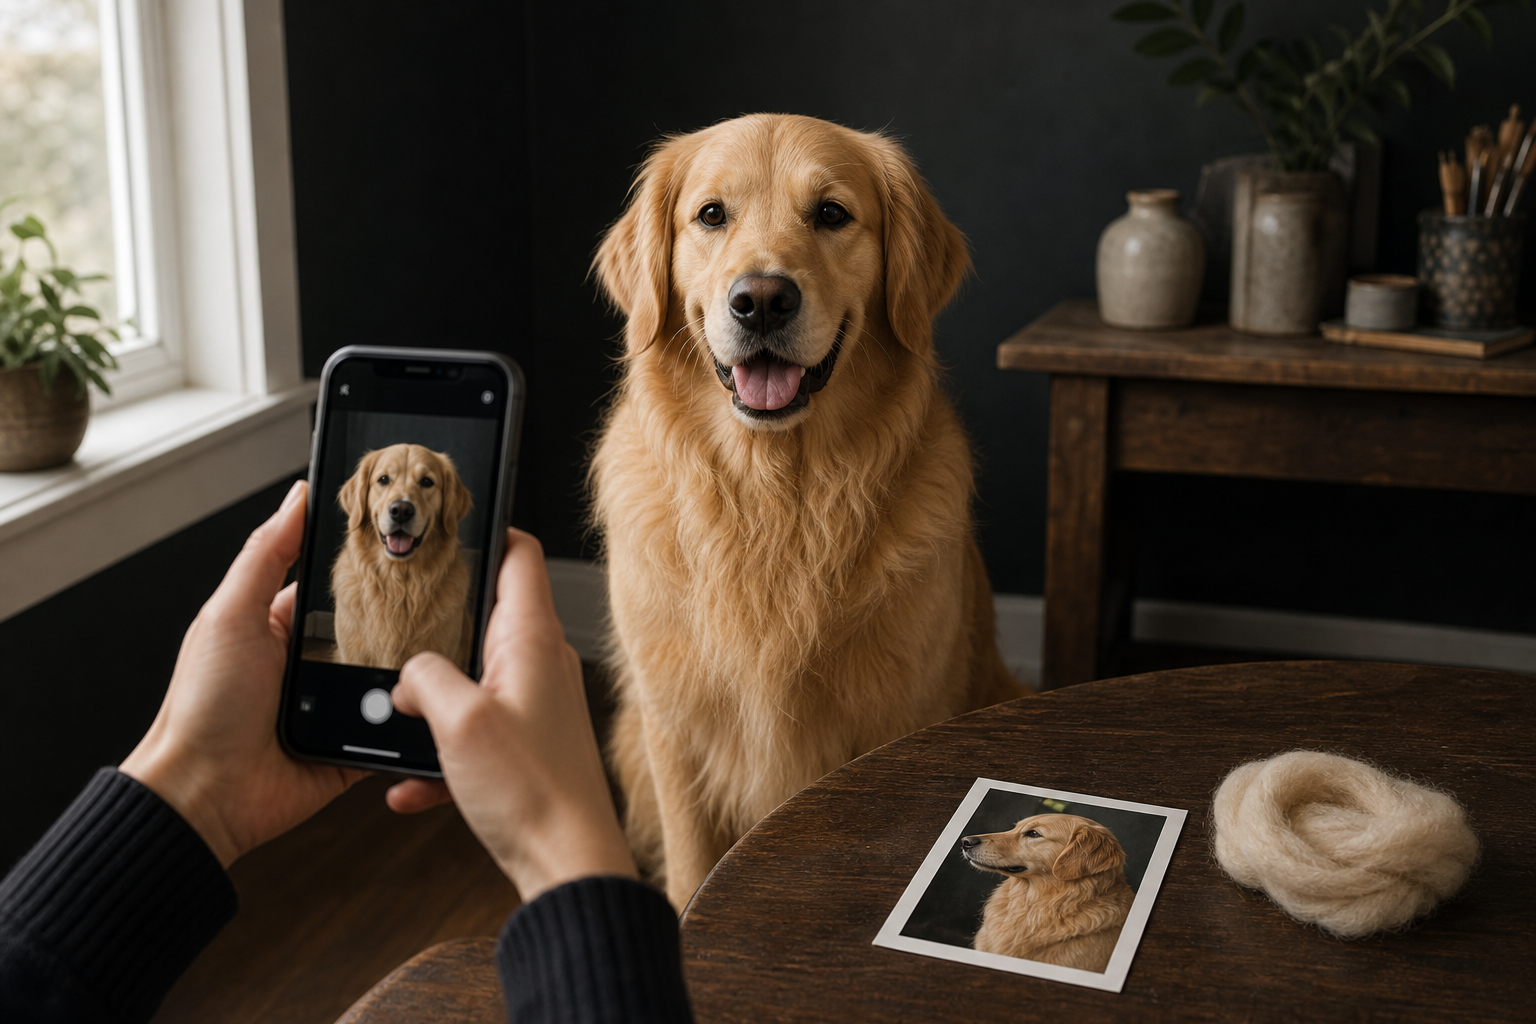
A lifelike needle-felted pet sculpture starts long before the first wool fibre is placed. It starts with photographs that clearly show your pet's face, body proportions, markings, and natural posture.
Start with one clear front view
Place your dog or cat near a window or outdoors in open shade. Hold the camera at eye level and make sure both eyes, both ears, the nose, and the front of the chest are visible. This is the required reference for every TINY-PET commission.
Add useful supporting angles
A side profile helps us understand muzzle length, chest depth, back shape, and tail carriage. A rear three-quarter view can clarify markings that disappear from the front. For long-haired pets, include one image that shows the coat in natural movement.
Photograph distinctive details
Capture eye colour, nose texture, paw markings, ear edges, collar details, and any patch of colour that matters. These close-ups are especially valuable for merle, brindle, tortoiseshell, tabby, and multi-colour coats.
Choose expression, not just sharpness
The best main photograph is both clear and familiar. If your pet always tilts one ear, sits slightly to one side, or has a particular soft look, include the image that captures it.
What to avoid
Avoid heavy filters, very dark rooms, wide-angle distortion, screenshots, and photographs where another object covers the face or body. You can upload up to nine references, and more clear angles usually lead to a more personal result.
Before ordering, gather one front view, two side views, one full-body pose, and several close-ups. That set gives the studio a strong visual brief for either a full-body sculpture or a 30 × 30 cm portrait frame.